Beginner’s Clarinet Guide
How do you put together a clarinet? What are the parts of a clarinet? You just got your first clarinet and now you’re staring at the open case, trying to figure out how to put it together. Where does the reed go on a clarinet and how do you put on a reed? How do all the pieces fit together? Follow the steps below to learn how to set up your clarinet.

Grease the corks
You won’t need to apply cork grease every time you assemble your instrument, but you will if your instrument is new or the corks are not sliding together. Apply a small amount of grease and rub it gently into the corks. There are four tenon corks on the clarinet: one on the mouthpiece, two on the upper or top body joint of the clarinet, and one on the lower joint.
Moisten your reed
While you assemble the rest of your clarinet, moisten your reed. You can do this one of two ways. First, you can moisten the reed in your mouth. To do this, remove the reed carefully from its case and place the top or shaved part of the reed on your tongue so that the number or writing on the reed is facing upwards. Leave it in your mouth for a few minutes until it becomes fully moistened. Alternatively, you can soak your reed in a cup of water. Choose a small cup and place the top of the reed in the cup for a few minutes.
Assemble the body
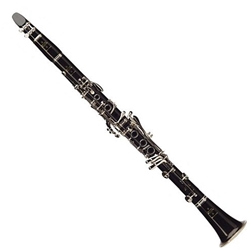
There are four parts of the clarinet’s body. In order from top to bottom, they are the barrel, the upper joint, the lower joint, and the bell.
Slide these joints together carefully. For each joint, follow this process: use a gentle twisting motion until you can no longer see any of the cork. Line up the center keys in a straight line down the body. Don't grab the keys of the instrument while putting the clarinet together, as this can damage the keys.

Assemble the mouthpiece
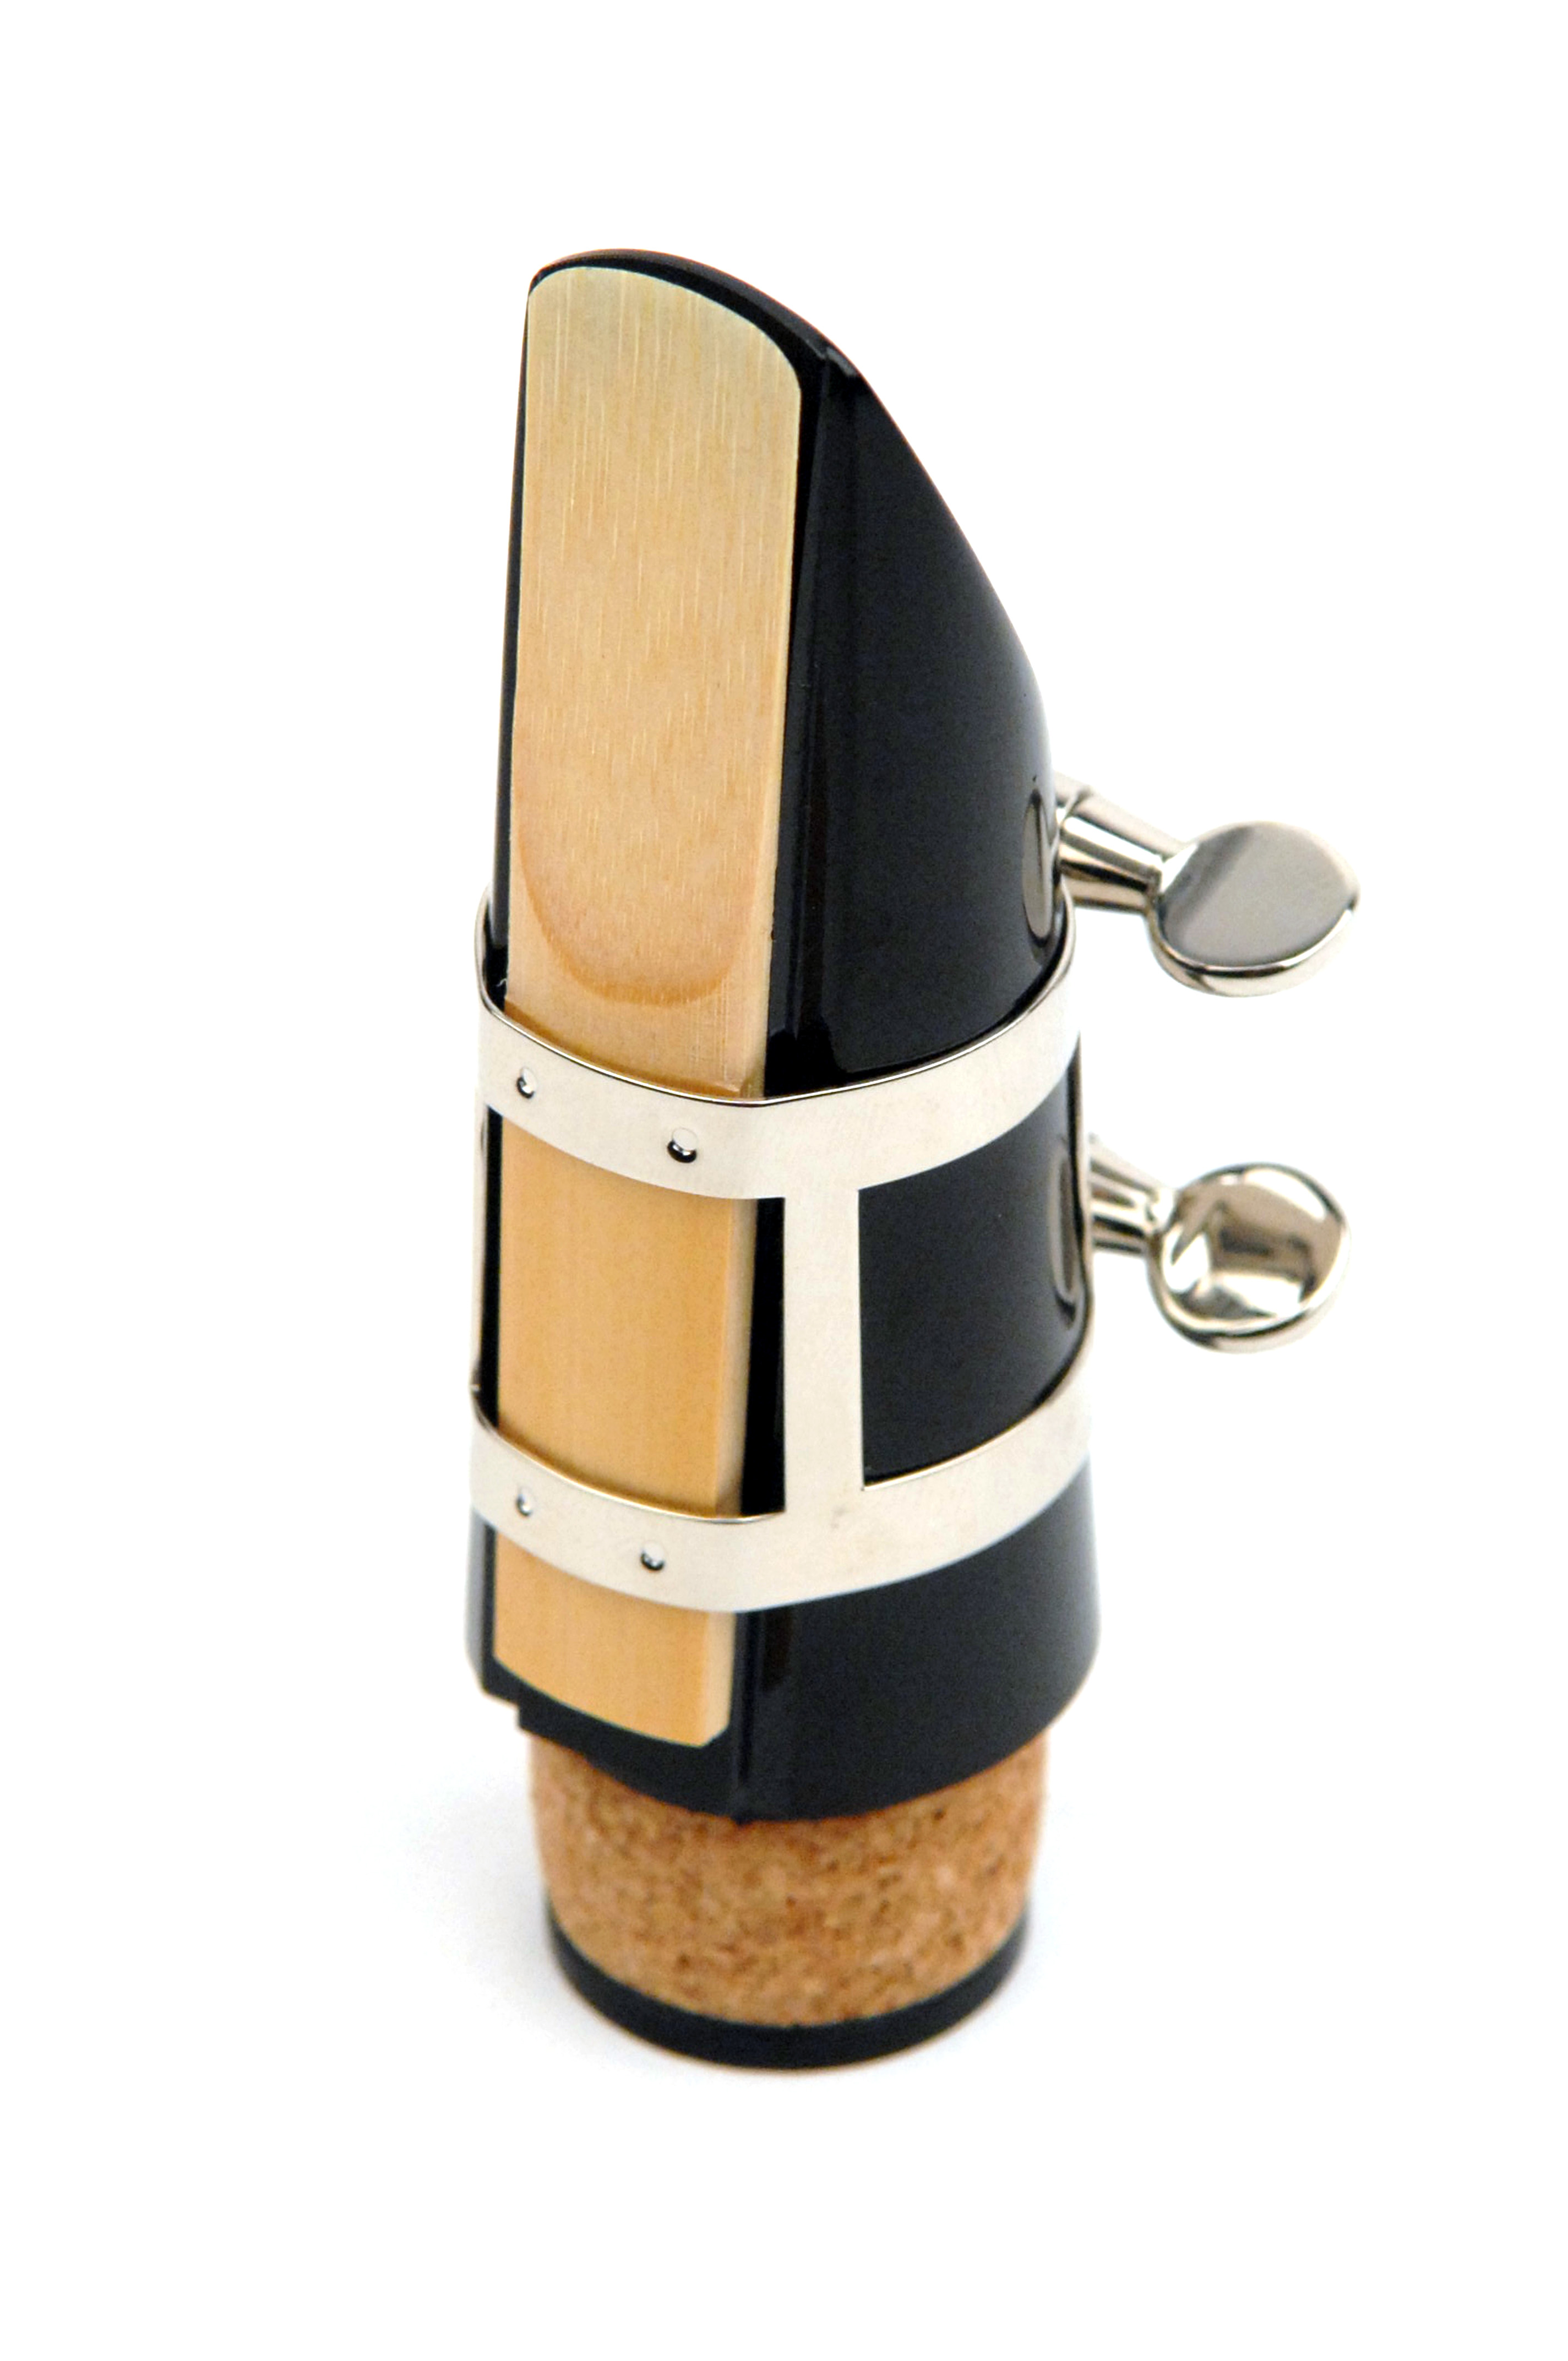
Next, attach the mouthpiece to the top of the instrument using this same technique. The open part of the mouthpiece should be lined up with the back of the instrument. Unscrew your ligature (the wire piece that holds the reed to the mouthpiece) and slide the reed onto the mouthpiece so that its top is aligned with the top of the mouthpiece. Then, tighten the ligature. If you need more guidance on attaching the reed, check out this post.
There you go! Once you’ve followed these tips, you will be all set to start playing! Remember it can take time to get the hang of assembling your clarinet, so have patience while following these steps to make sure you take care of your new instrument.

